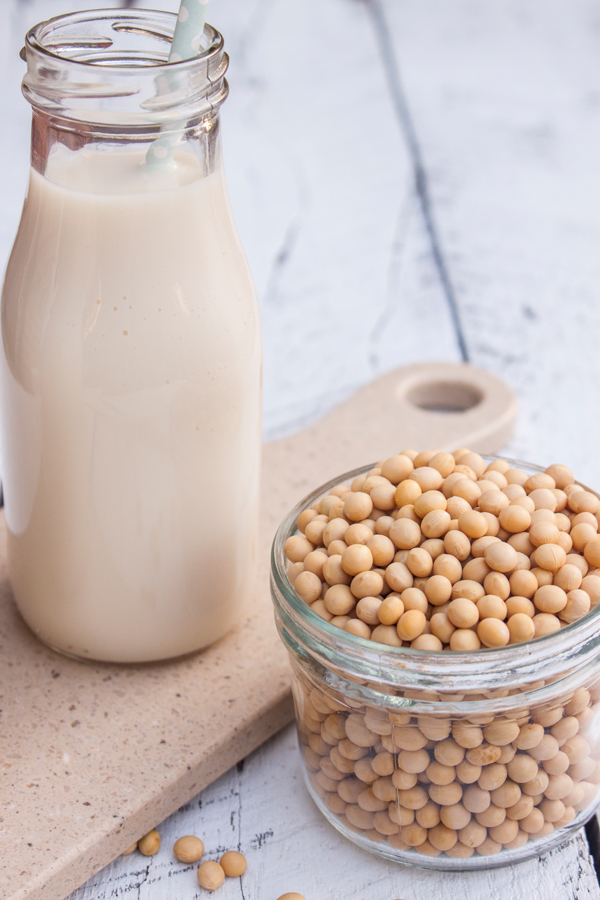
Il soya milk commonly on the market has a rather high cost, it could contain very unnatural thickeners and preservatives, especially in the event that it is not vegetable milk of biological origin, or submit a unwelcome taste. Making soy milk at home means save and stem the production of waste, abolishing containers in Tetra Pak.
It also means being sure of what you are preparing and what you will drink, a factor that is nothing but one of the main advantages of home self-production. Among the different types of vegetable milk, soy milk turns out to be the a higher protein content (contains 3 grams of protein per 100 milliliters, almost on a par with whole cow's milk, which contains 3,3 grams), being derived from soy, which with other legumes (such as beans, lentils and chickpeas) represents one of the major sources of vegetable protein at our disposal. Soy milk is also rich in vitamin E and polyunsaturated fatty acids that are beneficial for the body.
To obtain 600 ml of soy milk you will need:
- 1 liter of water for cooking
- 2 liters of water for soaking
- 100 grams of dry yellow soy Biological
- Brown sugar or other natural sweetener
- Immersion blender
- Funnel and strainer
Soy needs to be soaking in at least one liter of water for 24 hours before use, so that it can release the antinutrients it contains: the phytates. The soaking water must be replaced at least once. The ideal would be to do this after 12 hours. It cannot be used for cooking, but in any case it must not be thrown away, as it would be a waste. You can pour it into a bottle or other container and use it to water the plants.
When the time required for soaking has elapsed, bring to a boil a liter of water in a fairly large pot and pour the soy, which must be left to simmer for 15 minutes. At this point, turn off the flame and with the hand blender at minimum power, to avoid splashing, blend the soy with the water for a few minutes. Let everything cool and get ready to filter. The ideal would be to have the tall glass that usually accompanies immersion blenders and a strainer of the appropriate size.
During the passage of milk through the colander you will find that there will be some soy pulp. As you proceed with the filtering operations, crush the soy pulp well with a spoon or teaspoon against the mesh of the colander to let the milk filter well and place it in a separate dish or container. The soy pulp left over from the milk preparation process is called "Okara". It is a food with a high protein content that can be used for example for preparation of croquettes or fillings for savory pies.
The obtained soy milk can be kept natural or sweetened with cane sugar or malt, if desired, also in view of the preparation of sweet recipes. From it they can be made further processing to obtain tofu or soy ricotta. Self-made, unsweetened soy milk can be used for the preparation of bechamel o cream housewife. It must be stored in a glass bottle, into which it will be poured with the help of a funnel, and placed in the refrigerator.
It can be store without problems for about three days. You can get variants of your city by adding cocoa powder, cinnamon or a vanilla pod to be left to rest in the milk while it cools, before transferring it to the bottle with the help of a funnel.
Read also:
- How to make rice milk at home
- How to prepare seitan yourself… instantly